

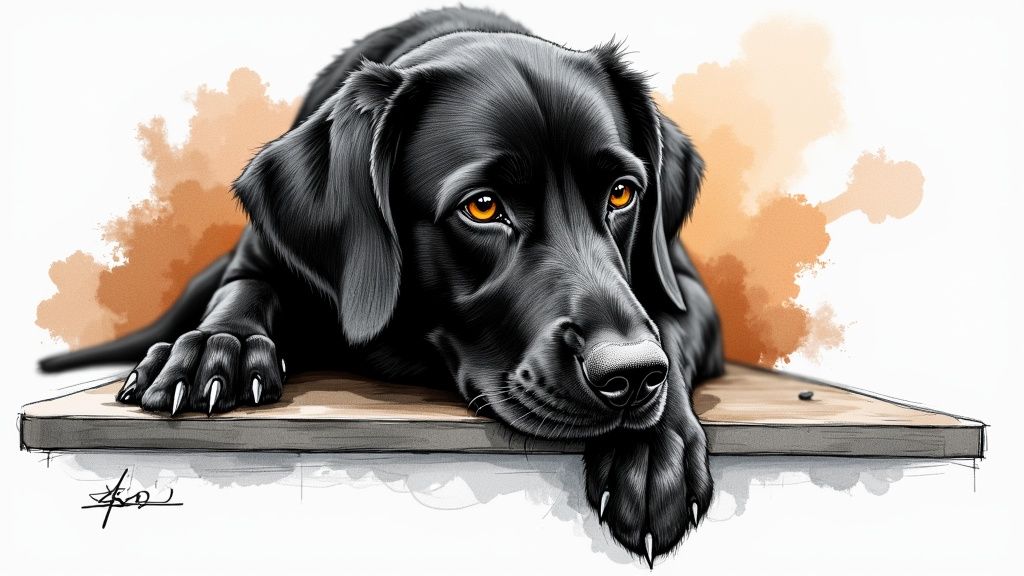
Understanding The Hidden Challenges of Black Dog Nails
Trimming dog nails is an important part of pet care, but black nails present unique challenges. The key difference is visibility - with light-coloured nails, you can easily see the quick (the pink area containing blood vessels and nerves). Black nails hide this vital marker, increasing the risk of accidental cuts that can cause pain and bleeding. Such negative experiences often make dogs fearful of future nail trims.
The Anatomy of a Black Dog Nail
Dog nails have two main parts - an outer shell made of keratin (like human nails) and an inner quick containing nerves and blood vessels. With black nails, the dark color masks where the quick begins and ends. This means owners need to be extra careful to avoid cutting too deeply. The quick actually grows longer as nails get longer, so regular trimming helps it gradually recede over time. Learn more about safe nail-trimming techniques here.
Identifying the Quick Without Visibility
Even though black nails hide the quick, there are reliable ways to estimate its location. One method is checking the nail's underside for a small dark circle or oval that marks the quick's start. Another approach is using a bright light to shine through the nail - you may see a faint pink or red glow if the quick is near the tip. While these techniques help, it's best to trim conservatively, taking off small amounts at a time.
Growth Patterns and Trimming Frequency
Dogs' nails grow continuously, but at different rates based on several factors. Activity level plays a big role - dogs who frequently walk on hard surfaces naturally file their nails and need less trimming. Meanwhile, less active dogs or those walking mainly on soft ground require more frequent nail maintenance. By understanding your dog's individual nail growth pattern, you can develop an appropriate trimming schedule that prevents overgrowth while keeping their nails at a comfortable length.
Selecting and Mastering Your Essential Tools
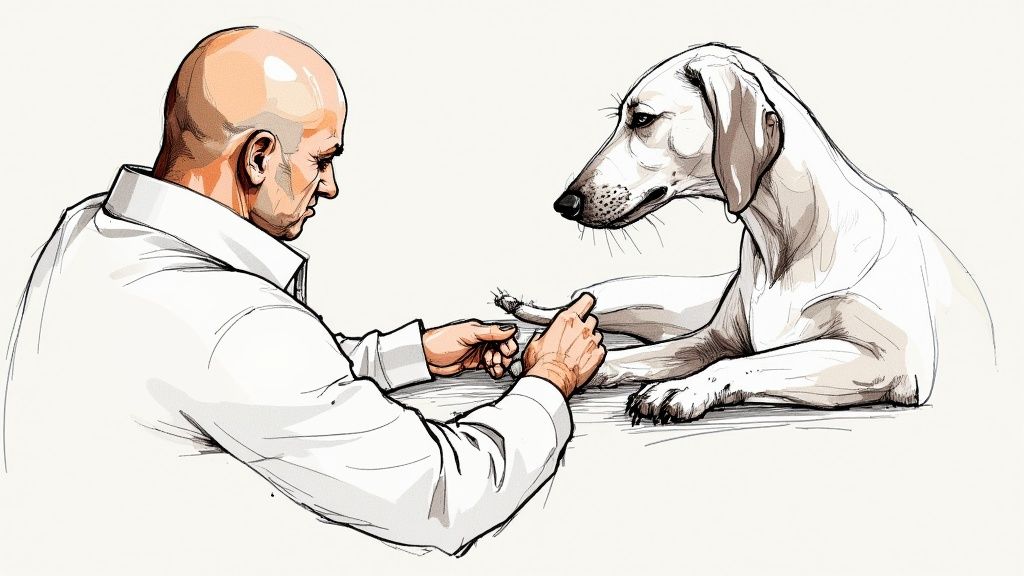
The key to safely trimming black dog nails lies in using the right equipment and proper techniques. The right tools, maintained well and used correctly, make nail trimming safer and less stressful for both you and your dog - especially important when working with dark nails where the quick is harder to see.
Choosing the Right Tool for the Job
There are three main tools commonly used for trimming black dog nails:
- Guillotine Clippers: These traditional clippers use a single blade to cut through the nail. While common and inexpensive, they can crush thicker nails and make it harder to avoid the quick in black nails. Best for experienced groomers.
- Scissor-Type Clippers: Operating like scissors with two cutting blades, these offer better control and handle thick nails well. With practice, they work effectively on black nails. A good middle-ground option for most pet owners.
- Grinders (Dremels): Instead of cutting, these tools gradually file down the nail. They excel at precise trimming of black nails since you can work slowly and carefully. The main downsides are the noise and vibration that some dogs dislike.
This comparison helps break down the key differences:
| Tool Type | Advantages | Disadvantages | Suitability for Black Nails |
|---|---|---|---|
| Guillotine Clippers | Easy to use, readily available | Can crush nails, less control | Low |
| Scissor-Type Clippers | More control than guillotine, good for thick nails | Can still be difficult with black nails | Medium |
| Grinders (Dremels) | Precise trimming, less crushing | Can create heat/dust, requires practice | High |
Maintaining Your Tools
Clean, sharp tools are essential for safe nail trimming. After each use, disinfect your clippers thoroughly. Keep clipper blades sharp to prevent nail crushing and reduce quick injuries. For grinders, remove accumulated dust and replace worn grinding bits regularly. Good maintenance makes trimming easier and safer. You might be interested in: How to master...
Setting Up for Success
Your workspace setup significantly impacts trimming safety and accuracy. Good lighting is crucial - a bright light can sometimes help reveal the quick through dark nails. Use a non-slip surface to keep your dog stable during trimming. Position both yourself and your dog comfortably to prevent sudden movements. A properly prepared environment helps keep the experience calm and controlled, leading to better results with those tricky black nails.
Professional Trimming Techniques That Actually Work
After covering essential tools and understanding black dog nails, let's explore proven techniques for safe and effective nail trimming. These methods will help make the process more comfortable for both you and your dog.
Mastering the Grip and Angle
Start by holding your dog's paw with gentle but firm support. Use your fingers to steady each toe individually as you trim. The key to success with black nails lies in the cutting angle - position your clippers at a 45-degree angle to match the natural nail curve. This position helps you avoid the quick while preventing nail splits.
The "Sliver" Technique: Small Cuts for Big Success
When dealing with black nails, take your time and work gradually. Instead of making big cuts, use the "sliver" technique - trim tiny pieces at a time. After each small cut, check the nail's surface carefully. Stop immediately when you see a small, dark circle appear in the centre, as this signals you're nearing the quick.
Utilizing Light to Your Advantage
A bright light can be your best friend when trimming dark nails. Try shining a strong light directly through the nail - this often reveals the quick as a darker shadow within. For more detailed guidance, you can learn additional tips here. Many groomers find that LED lights work especially well for seeing through dark nails.
Recognizing the "Quick Stop" Indicators
Watch for clear warning signs that you're getting close to the quick. The nail texture often becomes softer or slightly moist. Your dog may give you signals too - pulling back their paw or licking their lips means it's time to stop trimming that nail.
Addressing Different Nail Shapes
Each nail on your dog's paw may need a slightly different approach. Thick, curved nails require sturdy clippers or a grinder to prevent crushing. When working with thinner nails, use extra caution since the quick typically sits closer to the surface.
Troubleshooting Common Trimming Challenges
Even experienced groomers sometimes face difficulties. If you accidentally cut the quick, stay calm and apply styptic powder or cornstarch to stop bleeding. For nervous dogs, use treats and gentle praise to build positive associations. Some dogs may need extra help - consider visiting a vet or professional groomer if your pet shows extreme anxiety during nail trims.
Creating a Sustainable Nail Care Schedule
Taking care of your dog's nails isn't just about getting them trimmed once in a while. The key is building a consistent routine that works for both you and your pet over time. This means paying attention to how your dog's nails grow and making nail care a regular part of their grooming.
Lifestyle Factors and Nail Growth
Dogs' nails grow continually throughout their lives, but the rate varies based on several factors. Active dogs who frequently run on concrete or pavement naturally wear down their nails more than less active pets who mostly walk on grass. For instance, a high-energy Border Collie who runs several miles a day on sidewalks may need less frequent trims than a more sedentary indoor dog.
Most dogs need nail trims every 3-4 weeks to maintain proper length and prevent issues. The exact timing depends on their daily activities and environment. City dogs who walk on pavement often keep their back nails shorter through natural wear. Indoor pets and those primarily on soft surfaces typically need more regular trimming. For detailed guidance on setting up a trimming schedule, check out this expert guide from Devil Dog Pet Co.
Developing a Customized Schedule
Your dog's nail care schedule should match their specific needs. Start by watching how quickly their nails grow and checking the length regularly. If you hear clicking on hard floors when they walk, that's a clear signal it's time for a trim. Remember that nail growth patterns may change with the seasons - many dogs need more frequent trims in winter when they spend less time outside on rough surfaces.
Tracking and Adjusting Your Schedule
Keep a simple record of when you trim your dog's nails to identify patterns over time. This helps you notice if they suddenly need more frequent trims or if you can space them out further. For example, if you find yourself trimming every 2 weeks instead of 3, adjust your schedule accordingly. Similarly, if the nails stay consistently short, you might be able to extend the time between trims.
Tips for Integrating Trimming Into Your Routine
Make nail trimming part of your regular pet care routine by combining it with other grooming tasks like brushing or bath time. Create positive connections by offering treats and praise during trimming sessions. Some owners find it helpful to trim just a few nails at a time rather than doing them all at once. The key is finding an approach that keeps both you and your dog comfortable and calm during the process.
Overcoming Common Obstacles and Emergencies
Trimming black dog nails requires skill and preparation, especially when challenges arise. Understanding how to handle common issues and emergencies helps ensure your dog's safety and comfort during nail trims.
Handling a Resistant Dog
Dogs often resist nail trims because of negative past experiences or discomfort with paw handling. The key is taking small steps - start by gently touching their paws while offering treats and praise. Next, introduce the clippers without trimming, letting them sniff and explore. This gradual approach helps your dog form positive connections with the tools and process.
Managing Anxiety During Trimming
Watch for signs that your dog feels anxious during trims, like panting, shaking, or pulling away. If you notice these behaviours, take a break and try again later. Consider using calming aids like pheromone products to create a more relaxed environment. For extra support, reach out to a vet or professional trainer who can provide personalized guidance.
Dealing With Difficult Nail Conditions
Some dogs have especially thick or overgrown nails that make trimming more complex. These cases may require special tools like grinders to trim safely and effectively. If your dog has any nail health issues, check with your vet first to get advice on the best trimming approach that won't cause discomfort.
Emergency Protocols: Handling Accidental Cuts
Despite careful technique, accidents can happen. If you accidentally cut the quick and the nail starts bleeding, stay calm and act fast. Apply styptic powder or cornstarch directly to the nail tip and press gently for several seconds until the bleeding stops. Keep your voice soothing to help your dog stay relaxed. For more guidance, see our article on how to master nail trimming.
Building Confidence Through Progressive Training
Help your dog feel more comfortable with nail trims through short, positive training sessions. Focus on just one or two paws at first, giving lots of treats and praise. As your dog gets more confident, slowly work up to longer sessions trimming all nails. This patient approach helps create lasting positive associations.
Adapting Your Approach Based on Individual Response
Every dog responds differently to nail trimming. Pay attention to what makes your dog most comfortable - some do better with distractions like lick mats, while others prefer a quiet setting with minimal handling. Watch how your dog reacts and adjust your methods to create the most relaxed experience possible for your unique pet.
Building Long-Term Trust and Confidence
When it comes to trimming black nails, technical skill is just one part of the equation. The hidden quick makes many dogs and owners nervous, which is why building trust is essential for success. Professional groomers know this well - they focus on creating positive experiences through patience and reinforcement, even with the most anxious pets.
Reading Your Dog's Body Language
Learning to interpret your dog's signals is crucial for a stress-free nail trim. A comfortable dog shows relaxed body posture, gentle tail wagging, and soft eyes. Watch for signs of anxiety like excessive panting, yawning, lip licking, showing the whites of their eyes, or pulling their paw away. By paying attention to these cues, you can adjust your approach in the moment to keep things calm and positive.
Desensitization: A Gradual Path to Comfort
For dogs who are nervous about nail trims, taking small steps builds confidence over time. Begin by simply touching their paws while offering treats and praise. Once they're comfortable with paw handling, let them investigate the clippers without any trimming. You can even use clicker training to mark and reward relaxed behaviour. This measured approach helps dogs overcome past negative experiences.
Creating a Positive Trimming Routine
Regular short sessions are key to maintaining your dog's trust. Trim nails frequently before they get too long - this keeps the quick manageable and reduces the risk of painful cuts. Make nail care enjoyable by pairing it with your dog's favourite activities. Whether it's a special chew toy after trimming or a gentle paw massage during the process, establishing pleasant routines helps minimize future anxiety.
Adapting to Different Temperaments
Since every dog is unique, their ideal nail-trimming setup will vary too. Some dogs do better with distractions like lick mats or puzzle toys, while others need a quiet space with minimal handling. Pay attention to what helps your particular dog feel at ease. If they show stress signals, take a break and try again later. With time and observation, you'll discover the approach that works best for building lasting trust and cooperation.
Ready to make nail trims a breeze and build a stronger bond with your furry friend? Check out the PetTrimPro™ by Belle & Cooper here for a safe, gentle, and stress-free trimming experience.